Lights
Perimeter Lights
The perimeter lights are activated by a switch at the side door or one below the centre console in the cab. Those at the rear also double as additional reversing lights though this function can be disabled by another switch below the centre console in case the light is blinding to those behind.
13W flood light above rear mudguard on passenger side.
13W flood light above auxiliary fuel tank on driver's side.
12W flood lights each side of the Back-2-Front winch at the rear. These act optionally as reversing lights as well.
Awning Light
An awning light that turns on as you approach the vehicle at night helps negotiating the steps and door lock. The Narva Awning Lamp with PIR Sensor #87792 is one such. I fitted one.
I set a small Centre Off Rocker Switch into the overhead cover of the doorway. The switch sets the awning light off, always on, or on when motion is detected.
2-Way Switch for awning light.
It turns out that although the light is good, its motion detector is not. It too often does not detect, or turns the light off too soon, or turns on and off at seemingly random times. This has led to using a timed switch at the side door, to turn on lights already in place in the door lintel. Having the option of one light or the other is useful. I call the latter the "entry light".
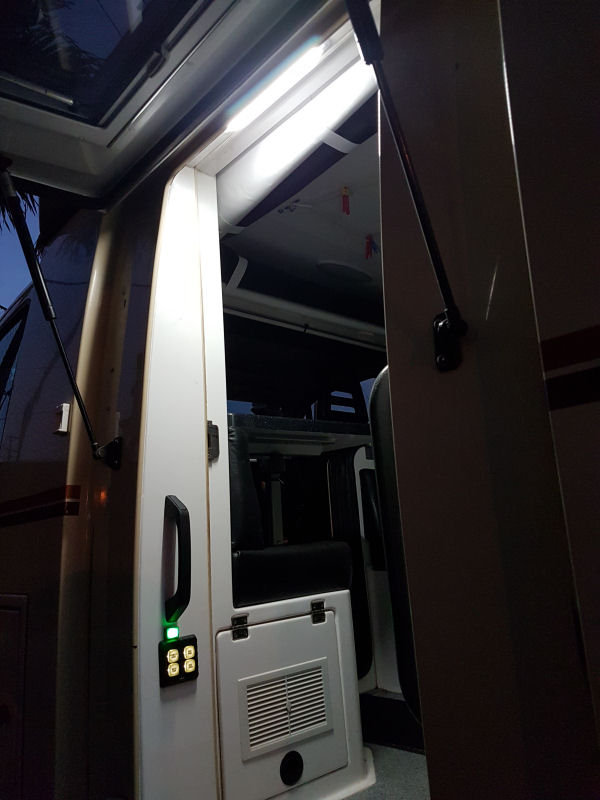
A press of the green switch at the entrance turns on the light above for about 3 min.
Entry Light
The light in the lintel for the entry door is now controlled by an illuminated switch above the switch cluster in the entrance. When the switch is pressed, the light stays on for about three minutes before automatically turning off.
Outside Shower
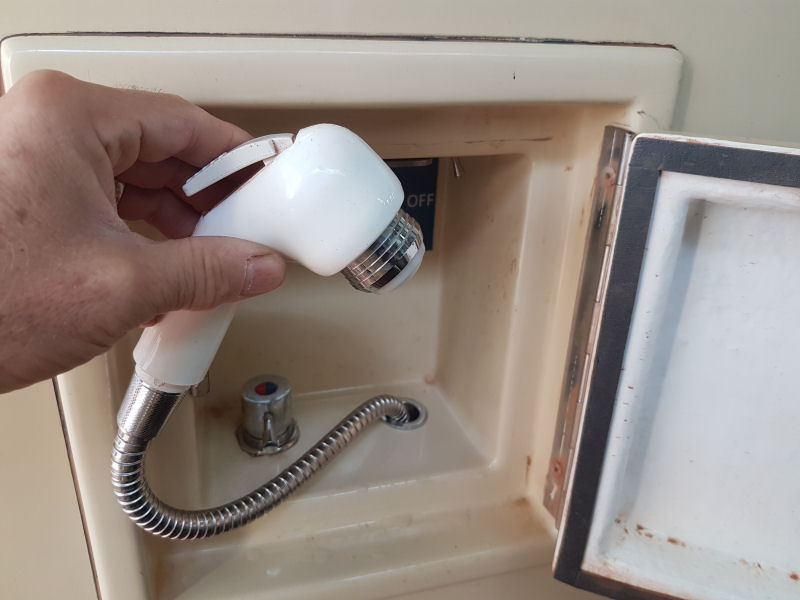
The outside shower, behind a hatch on the RH side, has a 1.5m stainless steel shower water hose that slides easily from its travelling position.
The mixer tap handle rotates left and right for hot and cold water, and lifts to manage the flow.
Water Fill Point, External Tap, Hand Wash
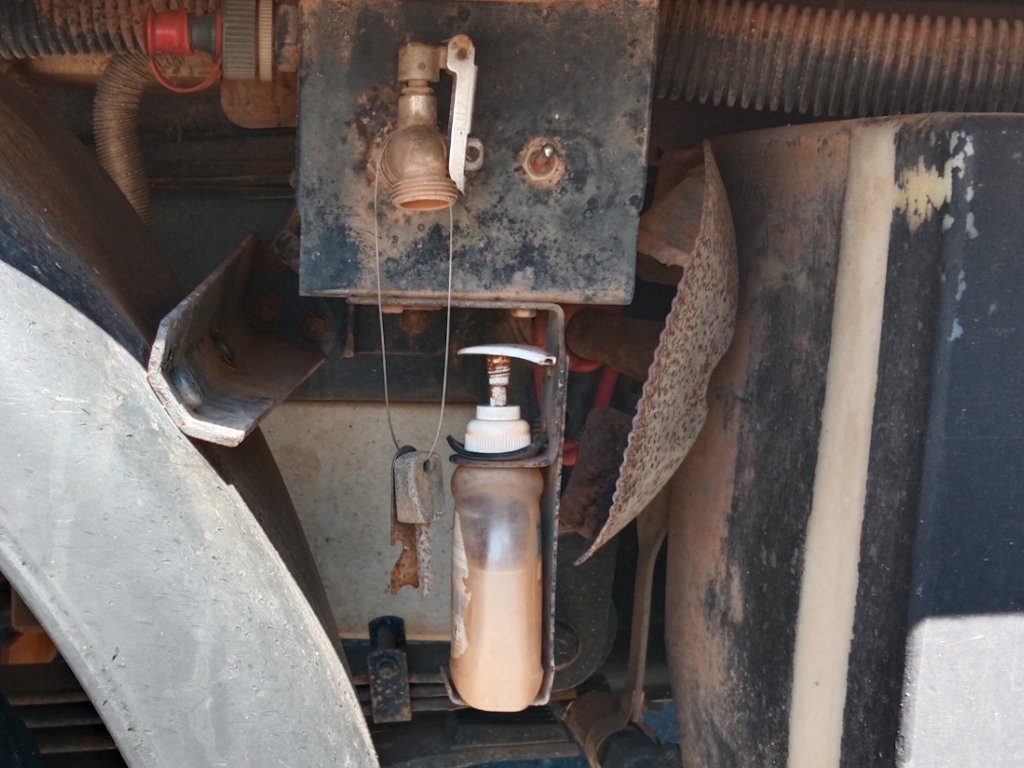
I relocated the external tap to in front of the RH rear wheel to make space for the new tool box there. It is much used for washing hands and to facilitate this I put in a liquid soap dispenser.
The pic also shows the preferred water filling point with a red cap on it. Although there is a main water filling point on the LH side (see technical details on page "water"), and despite my considerable effort to improve it, it is not easy to use because of poor design.
Shovel

Where do you carry a shovel to dig the wheels out of sand, bury waste, etc.? On the Daily 4x4 one of the two 68mm dia. chassis tubes in front of the rear wheels is ideal for the job. Insert pieces of (yellow) foam matting in each end, insert the Mexican-made Truper Multi 2-in-1 Shovel/Spade with timber handle (bought from Bunnings at the time) and restrain using a heavy rubber strap. No security, but no problem.
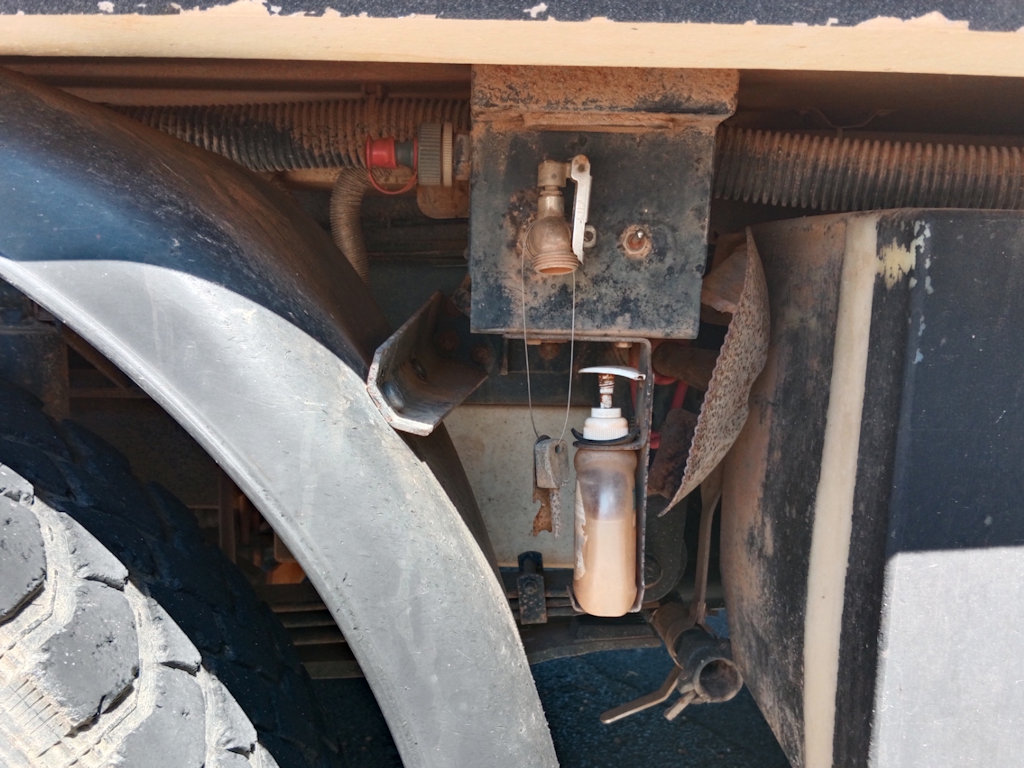
Shovel in position, restrained. Also here: hand wash bottle, water filler click-connect, water tap & light switch, outer pipe holding waste-water hose.
The shovel handle extends all the way through the chassis tube, as does the outer pipe holding waste-water hose.
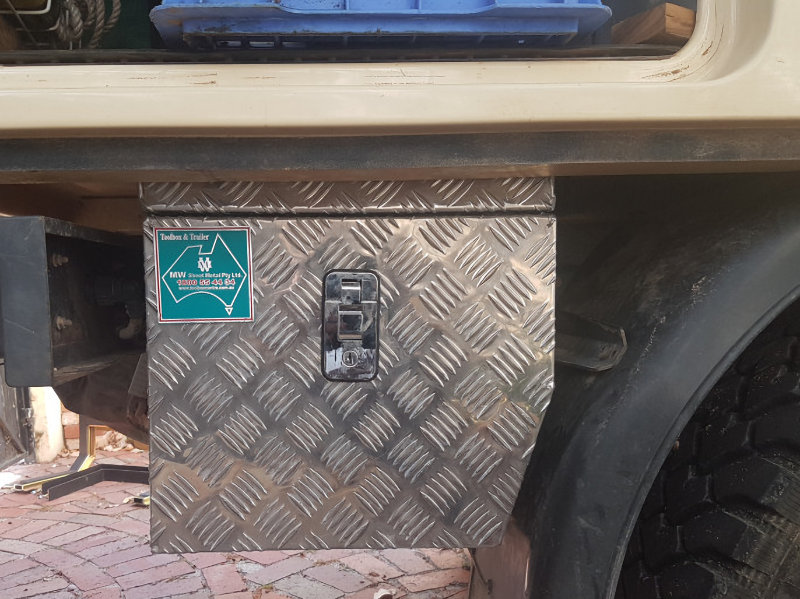
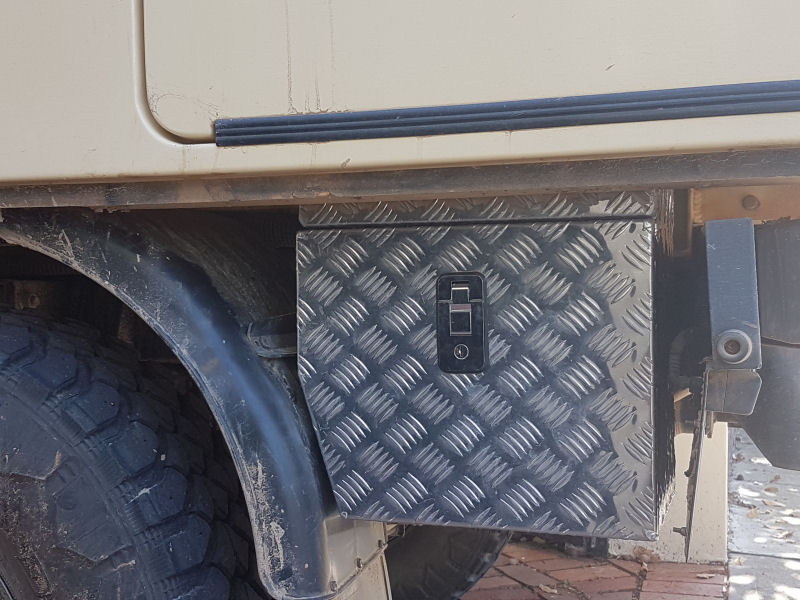
Underbody Storage Boxes
MW Toolbox Center supplied made-to-measure aluminium underbody boxes to fit behind the rear wheels. The LH box holds various oils, greases, tubing, a few hard-to-find tools such as a differential pinion insertion tool (Iveco #99374459) and spare filters for the truck. The RH box holds recovery gear, including puncture repair kit, snatch straps, heavy-duty shackles and controller for the winch.
Perimeter Lights
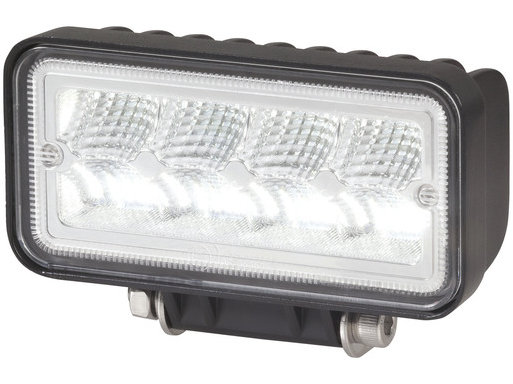
The perimeter lights use exisiting wiring fitted by TravelTrucks (see TT wiring). The light circuits are on the CAN-Bus power distribution with switches at the side door and below the centre console in the cab.
It was an easy job to fit LED flood lights that were each less than 24 W capacity (a limitation TravelTrucks mentioned to me) at the sides and rear. For the rear I chose a pair of the 12 W rectangular work lights sold by Jaycar because they were the right size and have a quality mounting bracket; they also have Deutsch 2-Way male connectors fitted so they plug right in.
For the sides '18W' 7" bar lights (actually about 13 W) are used. Bought from an eBay seller, the selected light bars have mounting brackets at each end, so scrub will not so easily be entangled; they come with a Deutsch male plug already fitted.
Light bar behind step on passenger side.
Light bar over aux. fuel tank, driver's side.
Entry Light
An illuminated push-button switch above the CAN-Bus group of switches at the side door turns on the light in the lintel for the entry door for a set time; the light stays on for about three minutes before automatically turning off.
Power comes from the same feed as for the awning light. I had hoped to use the spare red/black pair labelled "HL" there but it seems to be unconnected (see TT Wiring).
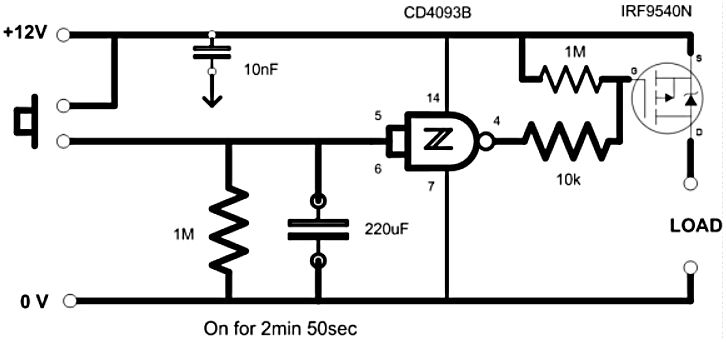
The circuit for the light delay uses a CMOS NAND device with Schmitt-trigger inputs (a CD4093B) to monitor the voltage across an R-C pair made up of a 1MΩ resistor and a 330μF capacitor. The measured time delay is 2min 50s.
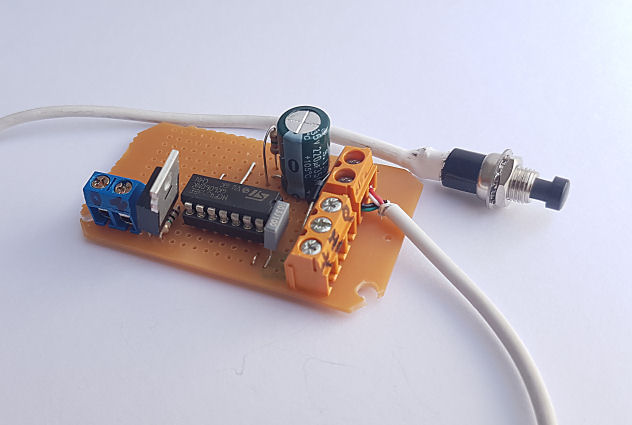
Upon pressing the switch at the entry, the voltage across the R-C pair jumps to 12 V and then decays to a low value. The NAND device output, which jumped low and turned on the light, then goes high and switches off the p-Channel MOSFET to cut off power to the light.
I use just one of the four NAND devices in the CD4093B. It does not need a special power supply – it is powered directly from the house battery. The MOSFET is a IRF9540N. It is capable of handling huge current, but here it only needs to switch a maximum of less than 100 mA (the LOAD). It and all other components come from Jaycar.
Outside Shower
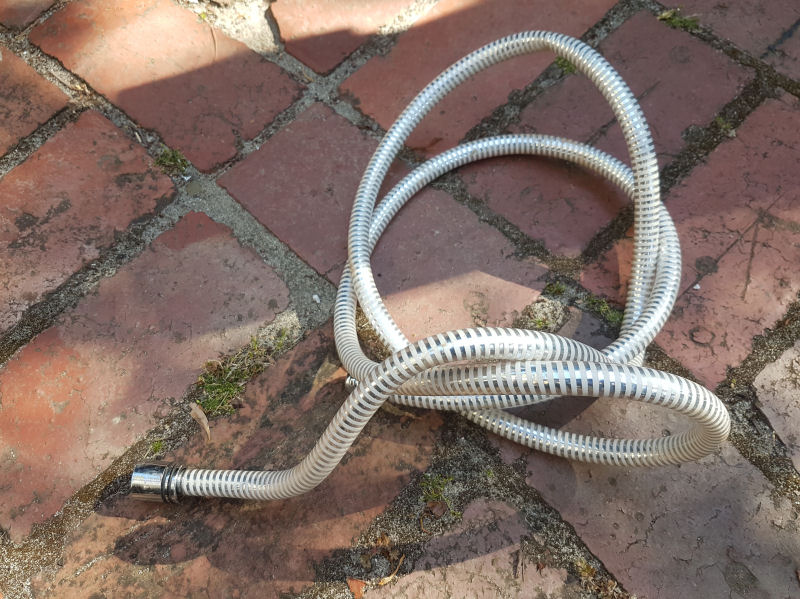
The outside shower, behind a hatch on the RH side, was supplied with a hose made from a type of reinforced garden hose that was far too stiff to feed out from and back into its storage hole.
The hose has been replaced with a 1.5m stainless steel shower water hose that slides easily from its travelling position. A 15mm x 10mm screwed brass bush was required to couple the new hose to the line from the mixer tap, but the shower head screwed into place without any issue.
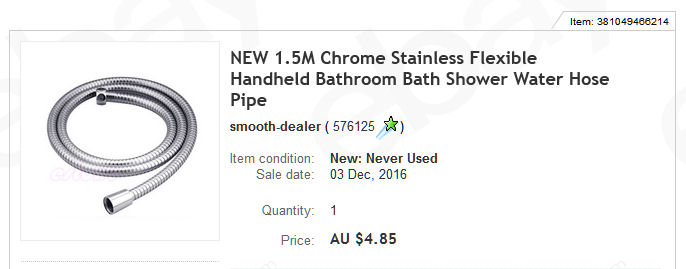

Bunnings sells a better quality shower hose for three times the price. Note that I needed a model that does not have the end fittings crimped on since the fitting at one end has to be disassembled to pass through the bush in the storage hole.
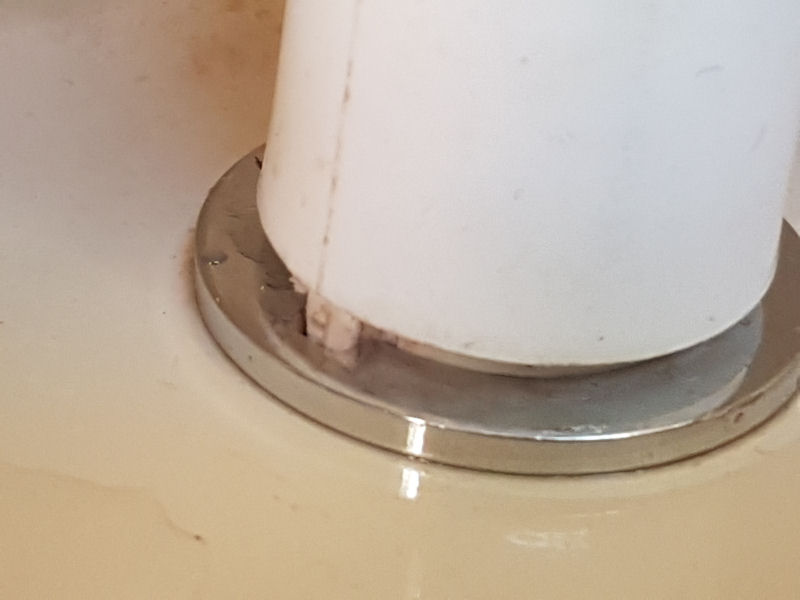
With the hose removed, I was able to cut a notch into the storage hole bush to mate with a tag on the shower head. This provides positive engagement of the shower head when stowed.
Hand Wash Detail
For the liquid soap dispenser in front of the RH rear wheel, I bent up a bracket and drilled a 28mm diameter hole for the bottle neck. The bracket mounts on two existing bolts.
An additional, springy, bracket bent up from galvanised iron, is located beneath the bottle. This stops the bottle from vibrating on rough tracks (don't ask!).
Underbody Storage Boxes
MW Toolbox Center took my sketch and turned it into aluminium underbody boxes to fit behind the rear wheels.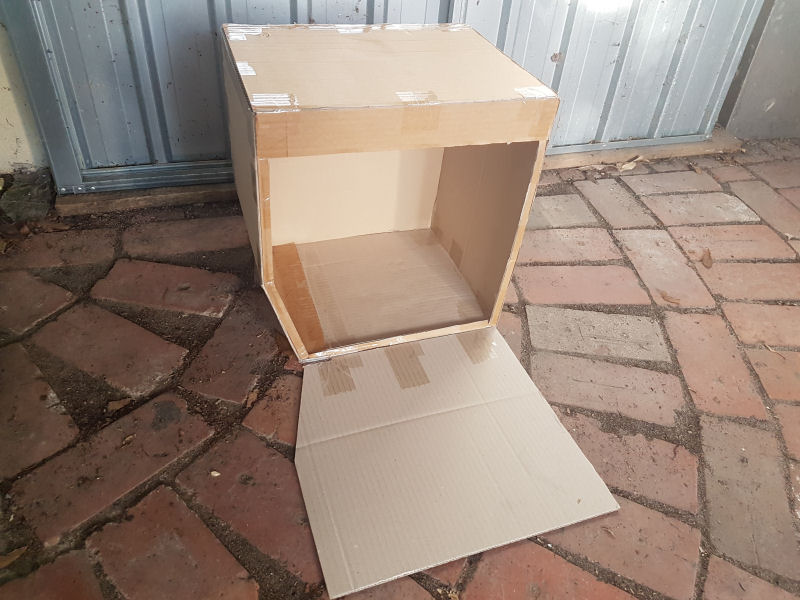
I had made a cardboard mockup of the LH side box. It could not project too far forward because access to the toilet SOG filter is required, and the door had to open downwards because of the various interferences from mudguard, number plate holder and module frame.
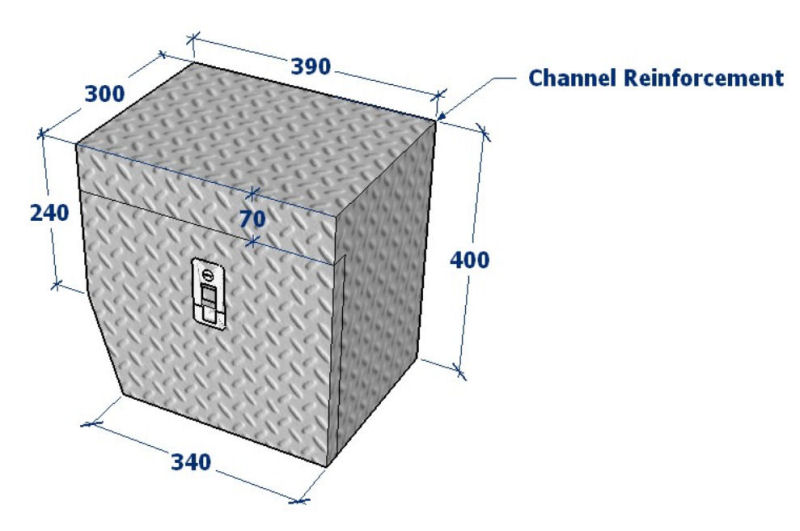
The MW Toolbox Center sketch of the box. A reinforcing channel is in the ceiling of the box.
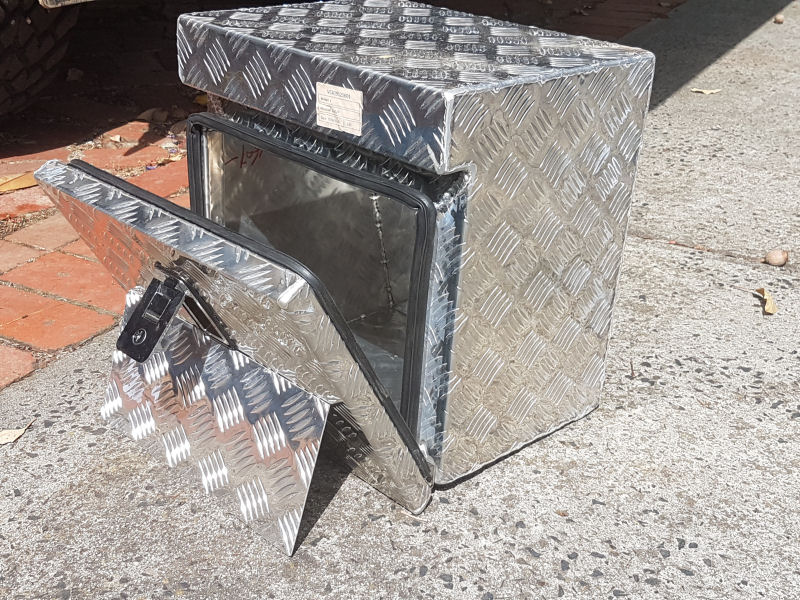
The finished box and reinforcing plate as supplied. The door has double seals to exclude dust (not successfully).
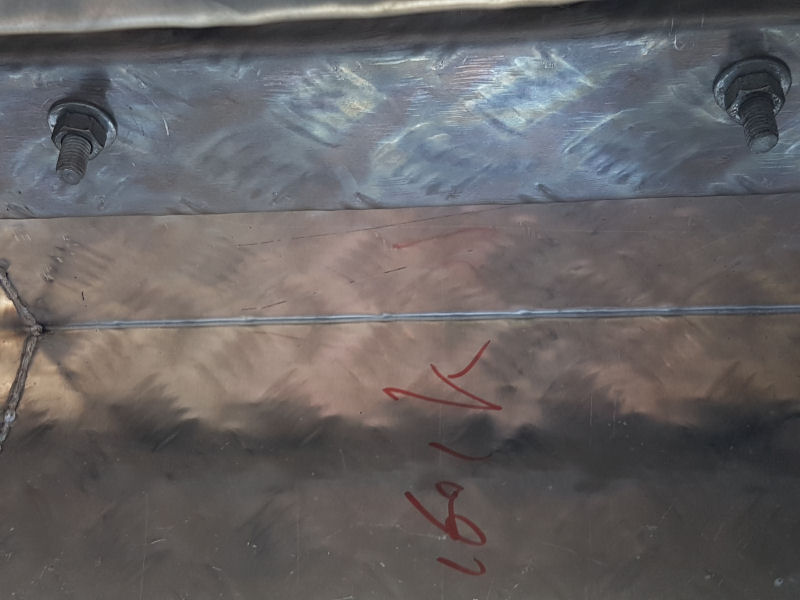
Two galvanised M10 x 90 mm coach-head bolts pass through the reinforcing plate on the floor in the boot into the box roof.
The RH box is the same size and mirrored shape as the LH one, except it is 340mm deep rather than 300mm. It is bolted through the floor in the same way, and is keyed the same.
LINKS
