
Reversing Lights, Beeper and Cameras
Reversing a 'big' vehicle is no fun. And when the rear-view mirrors don't show all that much immediately behind, its important to have some assistance.
Reversing UltraSonics
The Ducato as received has four ultrasonic units fitted to the rear bumper and a small LED-bar display and buzzer at the steering wheel. These systems are very unreliable, sometimes reacting to road surfaces, and not reacting to some obstacles.
To me, the intriguing thing has been how the connecting cable was pulled from the rear to the front of the vehicle. It seems to go through the space between the outer and inner shells of the Ducato, but every effort I made to do the same for the reversing camera cable (see below) failed.
Reversing Beeper
I installed a DSE reversing beeper behind the nearside rear light cluster of the Ducato 2.8JTD , using an insulation displacement connector to the reversing light wire, and a chassis earth. The beeper itself is held in place using double sided tape to the metal body behind and below the lights.

Reversing Camera(s) and Screen
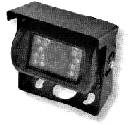 I initially installed a single reversing camera,
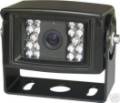
but soon realised that two would be twice as good. These cameras came from
Autobarn and from an
eBay supplier (Brash Imports). They are slightly different; they have colour CMOS sensors
and IR LEDs for night viewing in black and white. The lenses give a field of view that is
supposed to be natural viewing angle, but is actually wide angle, so objects appear further
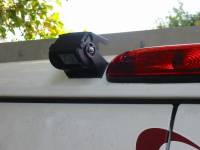
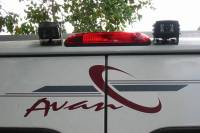
away than they are. The cameras are mounted either side of the centre stop light, on the roof
of the van.
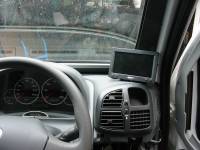
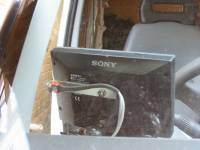
 The screen, mounted at the window
pillar near the driver, is a 6.2" widescreen 1440x234 dot Sony unit, sold for in-car
DVD viewing. It can accept two video inputs, in either PAL or NTSC format.
Update
I have replaced one of the cameras with a type with a Sony CCD sensor and 62° field of view. It is much better in picture quality and gives almost a natural view. The seller has disappeared and there appear to be none similar presently on the market. The weatherproofing has proved to be poor but resealing it and including some rice grains in the camera body to soak up any residual moisture has helped.
Installing the Reversing Camera System
I initally installed only one camera. I planned to be able to optionally power the reversing camera independent of reverse gear, so I needed to run power to the camera from the front of the van. I used a video/audio cable from DSE that gives three shielded conductors: the main for the video, the second for power, and the third in case of expansion - and that happened rather quickly upon realising that one camera pointed to the bumper bar and another to further distance would be really handy.

I pulled the cable from behind the shower/toilet to the front, but was unable to follow the route taken by the cable for the ultrasonic reversing alert system, so had to fish against the inner skin - this eventually caused problems with installation of the Airtronic Heater, since both occupy the same space and I had to wrap the cable in Aluminium tape to shield it from possible heat. I pulled the other end to the rear light cluster and up the rear pillar to the roof and the centre reversing light.
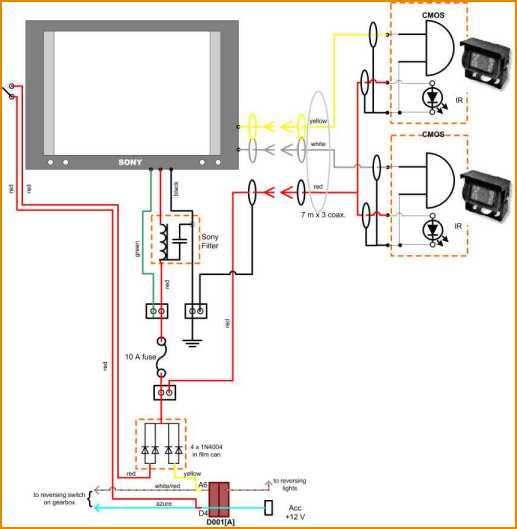
The circuit diagram of what is installed is shown here (click for a larger version). The complexity is because of the requirement to be able to switch the system on independently of the reversing lights.
Wiring into Ducato Electrics

Choosing where to break into the Ducato wiring is important: The signal from I020, the reversing light switch on the gearbox casing (I have not been able to locate the switch, though!) goes to D001[A] and then to D097[D]. Plug D097 would seem to be ideal for reversing wiring since it has both switched power (Acc) and reversing light supply. It is supposed to be a 9-pin flat plug, but an extensive search failed to locate it. It is possibly buried behind the Passenger Air Bag, which I did not want to disturb. D026 is another possibility, located behind driver's fuse box. But this only offers access to the reversing light supply. Another point for Acc would also be needed. I settled on connecting to Plug D001[A], even though there is heavy wiring there.

Plug D001[A] is a large brown plug/socket combination from Engine Bay to Cabin. Pins are marked 1 to 40 in four rows. It seems Pin 1 = A01, etc. The wire to Pin D04 is colour A (Azzurro) +12 V; wire to pin A06 is colour BR(Bianco/Rosso) 0 V. (See colour names here.)
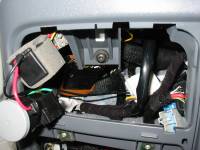
The Plug D001[A] is behind the passenger side fuse box; some of the insulation on the plug wires was cut away and new wires were soldered in and joined to the diode array (mounted in a film cannister) and then to the filters for the Sony screen. Wires were extended across the van behind the dashboard to the screen and over-ride power switch.
LINKS
- Autobarn http://www.autobarn.com.au
- DSE http://www.dse.com.au
Reversing Cameras
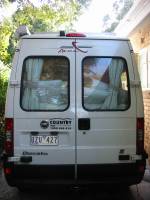
First camera fitted to roof rear of van.
Rear of van with Camera-1 installed.
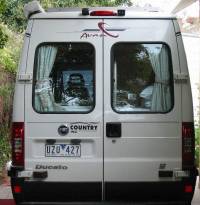
Two cameras fitted. One points to bumper bar, the other to the far field.
Rear of van with two cameras installed.
Driver's view of Sony screen for reversing cameras.
Showing the over-ride power switch behind the viewing screen.
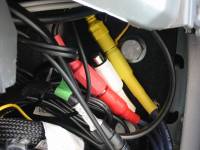
Connectors for camera under the dash board (one camera only, with spare connector).
Under the dash on passenger side: power connections for Sony screen - power filter in plastic box covered in sponge rubber, diode array in 35 mm film cannister.
Two cameras connected under the dash board (courtesy light cannister below).
 />
/>
_small.jpg)