Lighting
Kitchen
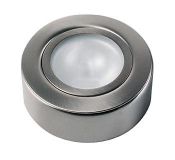
Undercabinet lighting consisted of three shallow 12V downlights. There must be a transformer somewhere. Two of the lights were damaged, and I have replaced them with Cromption DL888M undershelf cabinet lights (brass finish) with the external shell removed. These lights take a 12V 20W G4 halogen bulb which I have changed to G4 SMD LED replacements. These work really well on AC.
Downlights
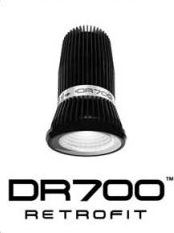
Taking advantage of a VEET subsidy, on 29 October 2012 I had Ecovantage install 17 DR700 10W LED bulbs in the most heavily used places in the house where there are MR16 downlights: the kitchen, pantry, family room, and over the desk in the Study.
The DR700s are warm white (3000 K) and seriously bright, at least as bright as the original 50 W halogens.
The datasheet from Brightgreen gives further performance and installation guidance. The gimbal fittings had to be changed, since the DR700s are not narrow at the top and did not fit.
The cost of each DR700 and gimbal, installed, was $41.00 and they have a three year warranty.
I am really pleased with these lights. They are by far the best I have seen.
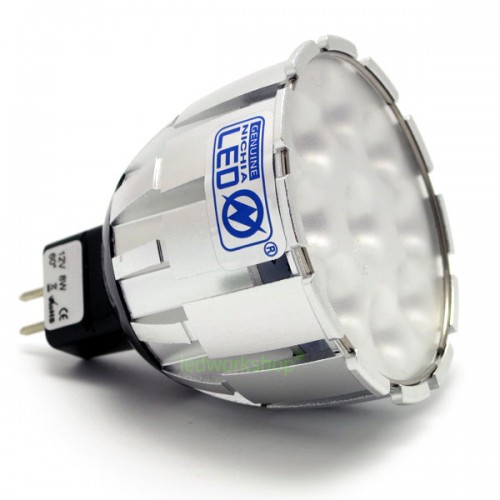
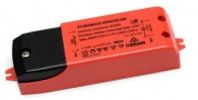
In the dining room the four 50 W MR16 downlights, driven by Atco TM50-2 iron-core transformers, have been replaced by Nichia 8W LED dimmable bulbs from ledworkshop. These are 60° 3000 K bulbs with a five year warranty and cost $23.75 each. Because they flickered badly at intermediate dimmer settings I had the Clipsal 32E400LVM leading edge dimmer replaced by a Clipsal 32E450UD universal dimmer purchased from eBay for $55.55. The transformers were also replaced, with Osram ET Redback electronic transformers, to improve efficiency. They also came from ledworkshop at a cost of $10.90 each. It will probably take 50 years to recoup the expense against electricity savings!
The Nichia bulbs are not as bright as 50 W halogens but are acceptable. They dim really well with the new accessories, but not much below half brightness.
There are six 12V MR16 downlights upstairs that have large plates to cover holes for earlier large luminaires and are driven by electronic transformers. I have replaced them with LED daylight bulbs: four are 6 W (actual) dimmable 60° bulbs from 360kool on eBay
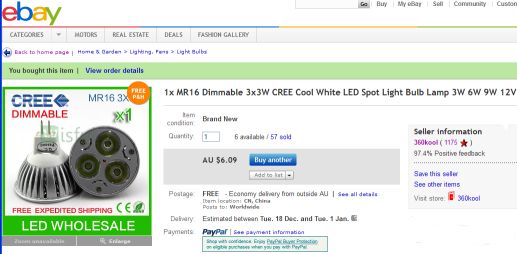
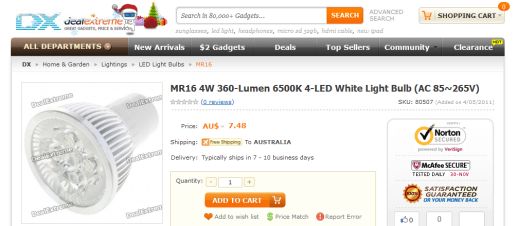
and two are "4 W" from DealExtreme similar to this one:
Because of subtle flickering of the LED bulbs in the main hall, I had the ILD-ET60 electronic transformers swapped out for Anchor 12 V transformers. These work really well.
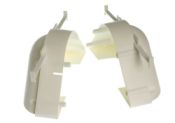
I fitted fire-retardant covers over all the downlights that are accessible from above, purchased via eBay from TradeWarehouse. The covers provide the necessary 20 mm clearance for the DR700 downlights and reduce heat loss from the house by allowing ceiling insulation batts to abut the fittings instead of leaving a large exposed area of ceiling. They also reduce air leakage through the gimble fittings that are used.
Bedrooms
Bedrooms 2–4 have downlights in 90 mm holes above the built-in desks. Bedroom 3 has both a built-in desk and a dressing table. The downlights were deep aluminium constructs holding E27 incandescent bulbs and were ineffective and inefficient.
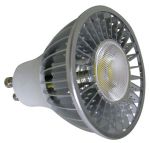
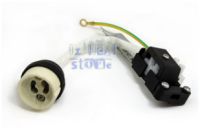
I have replaced them all with Supreme 7 W GU10 LED bulbs from EnergySaver in 90 mm gimbal downlight fittings that were in the kitchen. These bulbs are "true white (4000K)" with a claimed light output of 480 lumen. The gimbal fittings originally held MR16 50W halogens but using an adaptor from ozlocalstore on eBay they easily convert to hold the GU10s which run directly off 230 V mains.
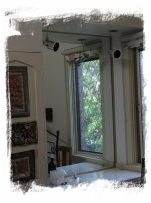
The first photo shows the original luminaires removed from their holes above the dressing table of Bedroom 3.
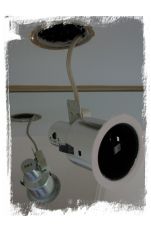
A close-up shows the poor quality of the painting and the need for repair. The ceiling is an early gyprock with brittle deteriorating paper skin and is likely from a later renovation to the house.
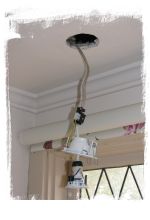
The downlight is replaced by a gimble fitting, a GU10 adaptor, and an LED bulb which, because of its shape, had to be wired to the gimble bulb insert.
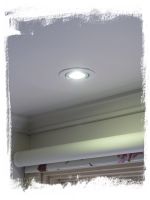
After patching and repainting the area, the photo shows the result with the new luminaire in place. I am very impressed with the quality and strength of the illumination at desk level.
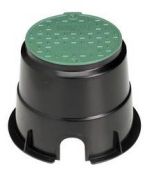
Where accessible, a downlight cover has been fitted over the top of the luminaire so ceiling insulation can abut the fitting. The fire-retardant covers used for most of the MR16 fittings are not tall enough to accommodate the GU10 adaptor, so Pope round valve boxes, used for garden watering setups, are employed here. These are 160 mm high and allow access from above, as well as accommodating the wiring. Although they are not fire retardant, being made of polyethylene, their use with low wattage LED bulbs with lots of clearance inside the box should not cause any issues.
Bedroom 3 Main Lighting
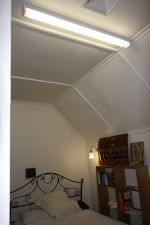
The room had only one main luminaire, on the N wall, and it did a very poor job. I have had installed a 36 W ceiling fluorescent batten as a temporary measure while we decide on a luminaire more in keeping with the style of the house.
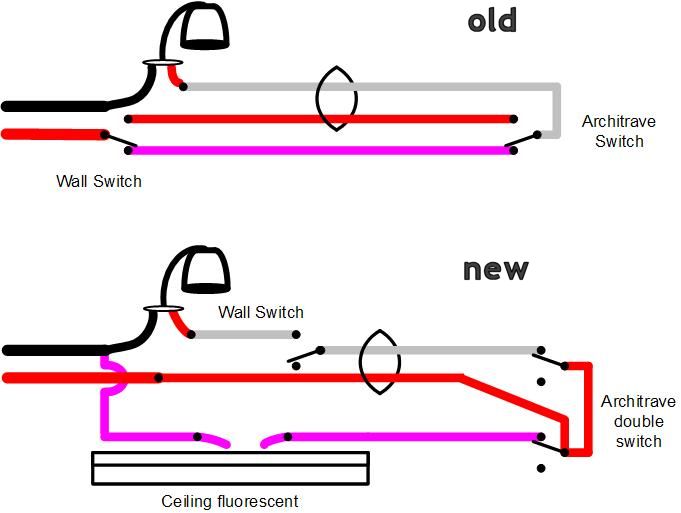
The existing wall lamp has two switches: one below the fitting, one on the architrave at the entrance door. The wiring is showm below. A change so that the existing switches no longer act as change-over units but now as simple on-off switches (both switches must now be on before the wall lamp turns on) has freed up one wire so that a second switch can be installed in the architrave at the entrance door without having to somehow fish a new cable down the wall. This switch controls the ceiling batten, as shown below.
Outside
Upper West Flood Light
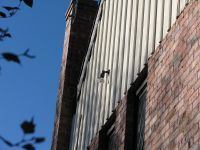
The upper outside flood light on the western wall was coming away from the timber due to rot. I have replaced it with a 10 W LED flood light mounted on a removable panel.
Inside the roof, it was evident that someone else had the same idea of cutting out a section of the wall and fitting a removable panel. They had made a poor attempt. Servicing the luminaire from inside the roof is far safer than climbing a ladder tall enough to reach. Replacing the fitting with an LED version hopefully means that I will never have to actually do the servicing.
Another mystery was that the circuit for this flood light had been replaced at some stage. The original circuit ran in steel conduit from the switchboard to the upper roof and then along the centre of the ceiling to the west wall. This had been replaced by a plastic cable running from next to the upper east flood light around the roof to the west luminaire. However this cable was not connected to anything.
Far simpler was to have the upper west flood light receive power from the same feed as the luminaire at the rear west corner so both would switch at the same time.
LINKS
- Crompton Lighting http://www.cromptonlighting.com
- LedShopOnLine http://www.ledshoponline.com
- EcoVantage http://ecovantage.com.au
- Brightgreen http://brightgreen.com
- ledworkshop http://ledworkshop.com.au
- DealExtreme http://dx.com
- eBay http://www.ebay.com.au
