Side Door Lock
Maintenance
The side door lock requires regular maintenance, otherwise it jams and is impossible to open or close! It seems to get water/dirt/rust in the lock itself, and in the sliding cam parts behind the handles.
Take off the grab-handle on the inside of the door, then the cover plate/opener and clean the mechanism with brake cleaner; oil with WD40 or similar. Reassemble the cover plate/opener — this can be a challenge as there are two pins on the opener that must be located correctly for the mechanism to work; it is even more difficult with the remote locker is installed (see next).
Remote Locking

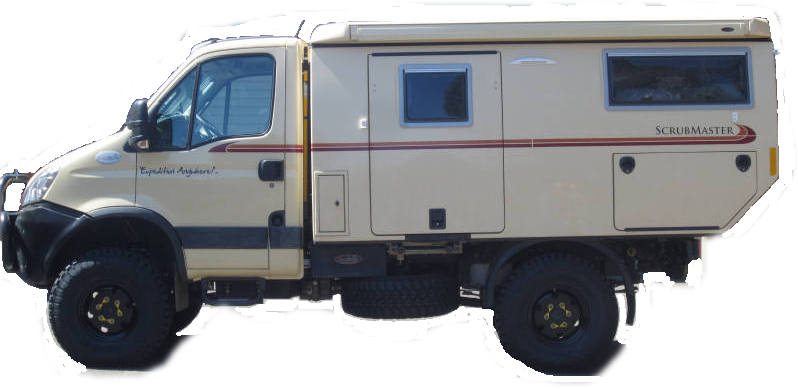
The camper side door was supplied with key locking only. This is not very convenient and there was a tendency to leave it unlocked. Far better to have the door lockable using the Daily remote control, as are the cabin doors. This has been implemented.
Side Door Entry Light

Pressing the green switch at the side door turns on the light above for a fixed time, making entry and exit at night easier. An electronic circuit creates a delay of about 3 minutes when the switch is pressed.
Details of Remote Locking Install
The Daily door lock controller uses relays and a 20A fuse to power the lock motors so there is plenty of capacity to run a further lock motor without triggering fault codes.

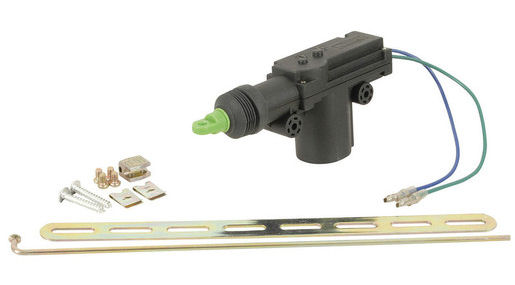
Jaycar Cat. LR8813 is a low-cost slave door lock actuator/motor ideal for the task. I mounted it in the side door next to the lock on a block of aluminium channel. There is plenty of room there. The lock mechanism has a convenient hole in the locking cam for the actuator arm.
The lock motor for the side door fits in the space next to the door lock itself.
The actuator arm attaches to the locking cam using a convenient hole.
Cover plate back on. The power cable runs around the edge of the door behind the pinch-weld.
The power cable exits at the top of the door through a new hole in the vicinity of the hinge.
The cable is fed into the camper and down behind the touch screen to a cable tray. To do this I had to remove two retaining bolts, cut through four large pads of urethane glue holding the door lintel cover in place, and thread the cable into the electrics cavity behind the touch screen.
Its important to take care routing the cable from the door into the camper. The top edge of the door can easily cut into the cable, leading to failure. I have run the cable forward about 20 cm before bringing it through a new hole into the space above the door behind the lintel cover. I have also restrained the cable, along with the original lighting cable, using two cable tie mounts screwed into the upper edge of the lintel.
In the cable tray behind the touch screen, the cable is joined to existing white SP2 and SP3 wires. These wires are already routed into the cabin at floor level behind the passenger seat. See the TT wiring page for the OEM wiring.
It would have been good if there were two OEM spare wires routed from behind the passenger seat to the vicinity of the Body Builders Plug near the glove box. However one was already in use for the alternator control so only one was available. I installed a new cable routed from behind the seat, up the door pillar, into the roof and down the passenger window pillar to behind the passenger speaker.
[In fact there are two pairs of wires, for optional rear camper speakers, going unused. These grey pairs go from behind the cab radio to behind the touch screen in the camper.]
passenger door actuator connector
We need power for the new door motor and tapping into the wiring of an existing actuator is the best way to do it. There are six green wires exiting the passenger door; they are not only challenging to differentiate, but access is impossible once they enter the cabin. The solution is to make connections directly to the connector to the locking actuator inside the passenger door.
joining into the cable
I had at hand a shielded five-core cable and used this, joining it to the LH door lock actuator and feeding it through the door cable gusset into the cabin and behind the LH cabin speaker.
The circuit is complete. Pressing the keyfob remote locks and unlocks all doors!
LINKS
