Suspension
Specifications for the rear spring pack from iveco:
* First stage springs move 10.2mm per 100kgs of weight,
* Second stage moves 2.7mm per 100kgs of weight.
Squeaky Leaf Springs
The second stage spring had keeper brackets at each end, but these really did not keep the springs in alignment and if the spring moved (due to inadequate torque on the main U-bolts holding the axle and spring pack together), the first stage springs rubbed agains the brackets and squeaked badly.
The ultimate solution for the squeaking is to realign the spring pack, but this is not easy and requires a lot of force. At first it was easier to put kitchen board or irrigation tubing between the keeper bracket and the springs. This worked well for a while but eventually the board or tubing wore away.
Then one day, having noticed that the squeeking was reduced, I saw that one of the rear keeper brackets was missing! Then some weeks later, the second one had disappeared. No more squeeking.
Bump Stops
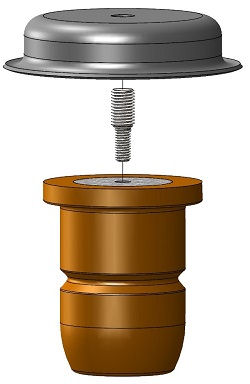
Available from TravelTrucks, replacing the firm front suspension bumpstops with progressive load carrying bumpstops from Airbag Man improves stability and bump absorption. The kit, model LU8030, is simple to install using Loctite 262 threadlocker.
A 10 mm Allen Key is all it takes to remove the OEM bumpstops. The replacement threaded studs, coated with the Loctite supplied, screw in by hand.
Progressive bumpstop on RH side.
Airbag Man bumpstop on LH side.
Location Dowels
The rear spring packs sit on wedges, 10 mm thicker on the LH side, and these are supposed to have a location dowel down their centre into a plate welded to the axle. However, on several vehicles, including TT30, it has been found that the dowel was missing; if the main U-bolts become loose, a wedge can move with such force that it shears off the four M6 cap-head bolts holding it to the axle.
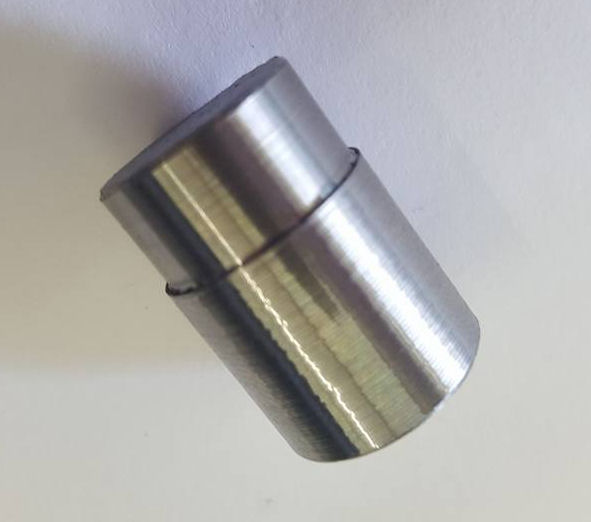
I have added the missing location dowels to the rear spring pack wedges on TT30. The dowels came from TravelTrucks. My plan was also to replace the thicker LH side wedge with one the same as on the RH side to stop the truck leaning to the right. However, despite adding a little Inox and letting it do its thing for 24 hours, and using an M6 Allen-key socket, I could not get one of the bolts holding the wedge to the axle out. I think I stuffed the head of that one so its there for the duration! No matter, the pin is in place (after a friend machined 0.05mm off the diameter so it had a chance of going in under great pressure from tightening the U-bolts).
Much the same issues were experienced with the thinner wedge on the RH side too. Its also there for the duration. I had to have 6mm cut off the length of that dowel. It seems TravelTrucks expects you to replace the thinner wedge but I did not want it that way.
Apparently, the socket-head bolts are known for their difficulty. I should have hammered the Allen key into the socket-head before attempting to remove it. Either that, or use a cold-chisel to cut the wedge off, as done by another man.
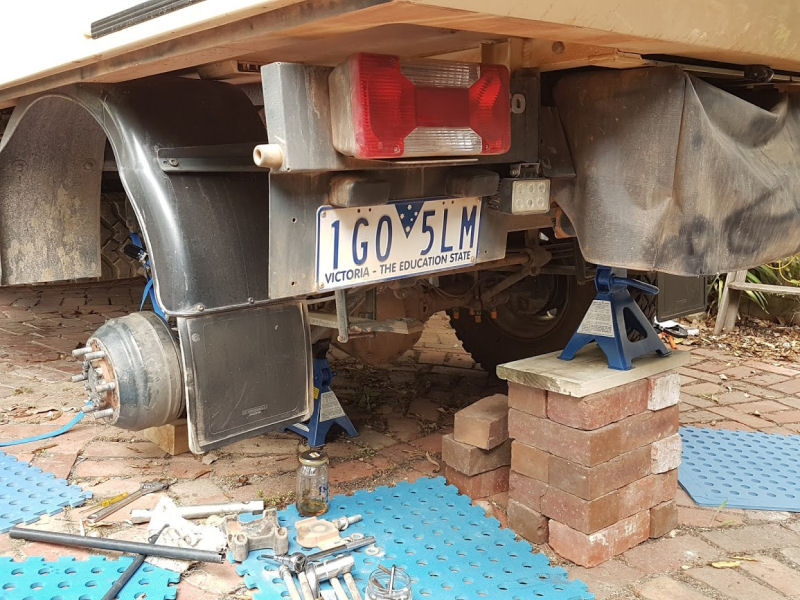
Inserting the dowels for the rear axle wedges required jacking up the body, removing each wheel in turn, undoing the U-bolts and letting the axle drop.
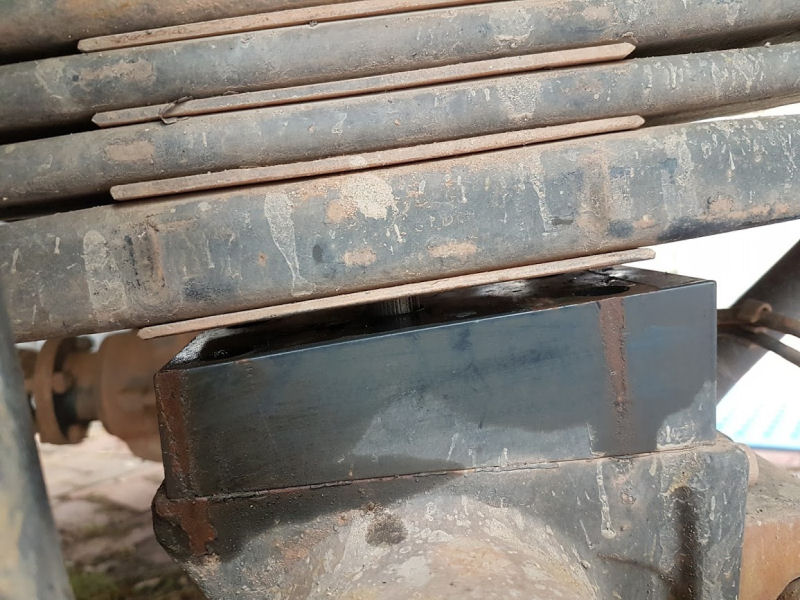
Reassembly – closeup of the head of the bolt holding the spring pack together re-entering the hole in the wedge. The dowel is already in the hole.
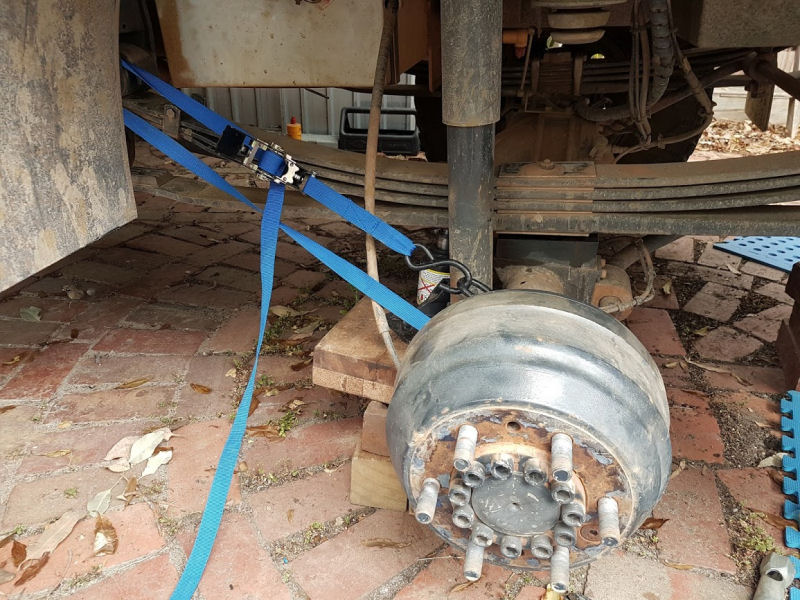
The axle had to be pulled to the front a little to allow the head of the bolt holding the spring pack together to re-enter the hole in the wedge.
Extra Front Spring
TT30 has been nose-down, causing drainage from the sink and shower to pool that way; the bed has had a discernable tilt to the front of the vehicle as well. Fitting an extra leaf to the front spring packs promises to greatly reduce the nose down. Again, TravelTrucks was able to supply a kit of extra parabolic leaf springs, new U-bolts, and small wedges to correct for the change in drive shaft tilt.
The most difficult part of the job was jacking up the front of the vehicle so the spring packs could be removed. Fortunately TT30 has a tow point in the front bull bar and this is well anchored to the chassis rails. Removing the bull bar allowed an axle stand on a brick pile to take the weight (2100 kg) of the front.
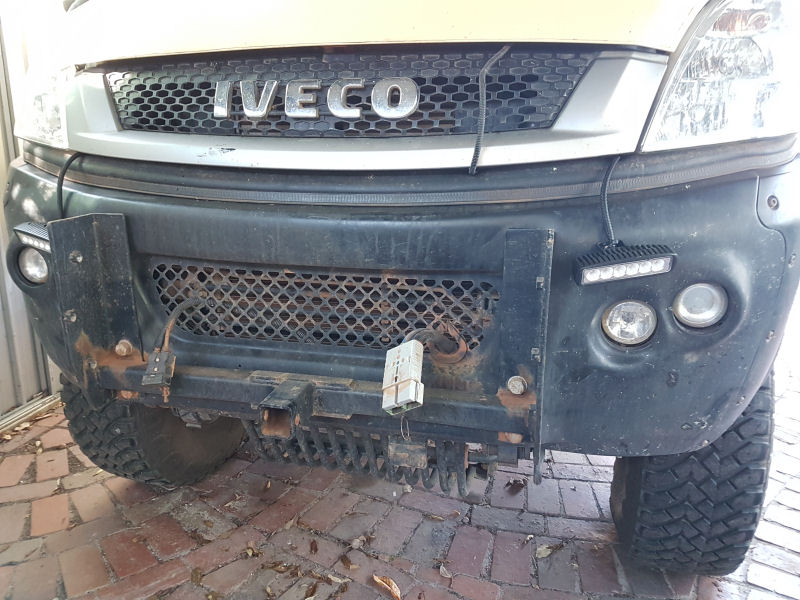
Removal of the front bull bar exposed the strong tow point.
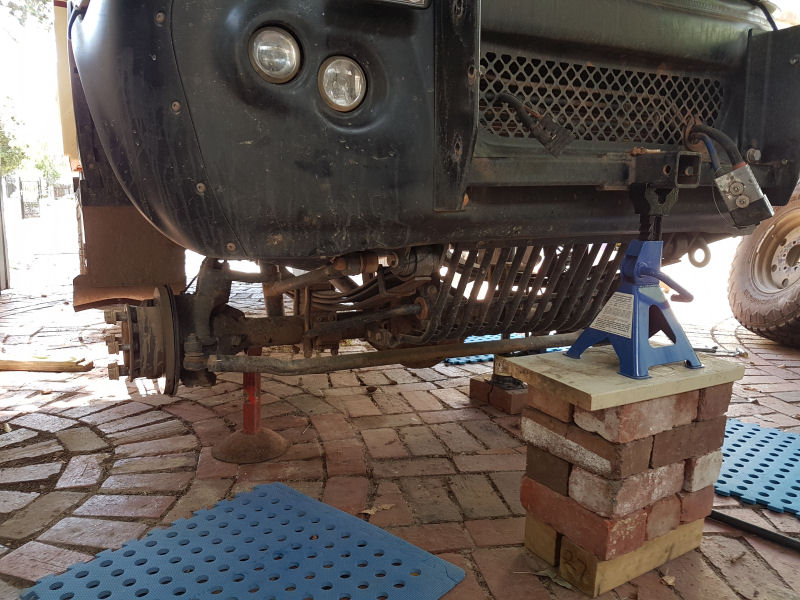
Axle stand on a pile of bricks under tow point; wheels off; axle dropped ready to remove spring packs.
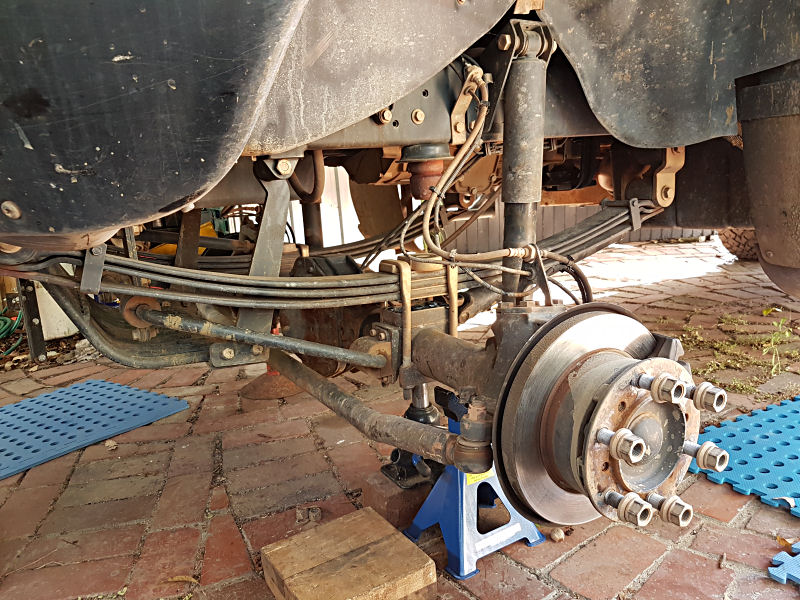
Undoing the U-bolts exposes the axle packing block with location hole for the spring pack.

With the spring pack out, the spring keepers at each end must be removed by cutting away the rivets.
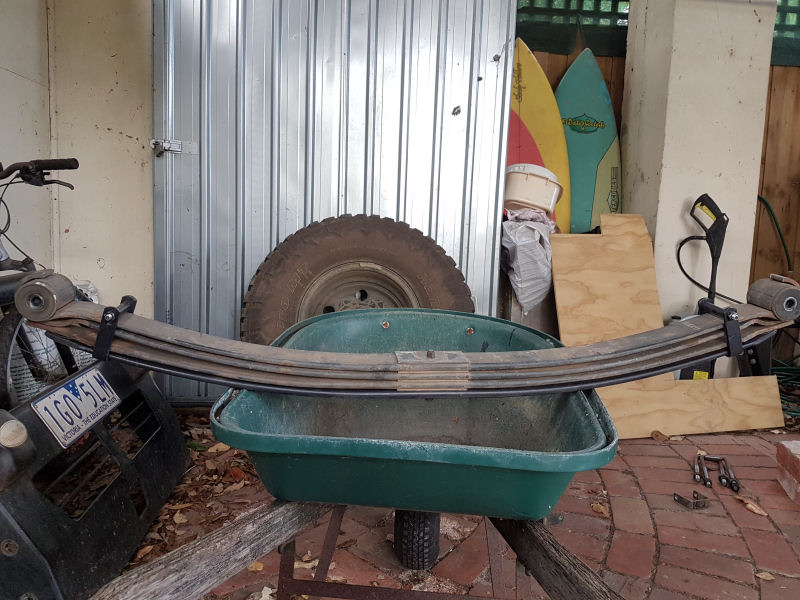
The new spring is bolted to the pack. The keepers and small plastic separators are in place at each end.
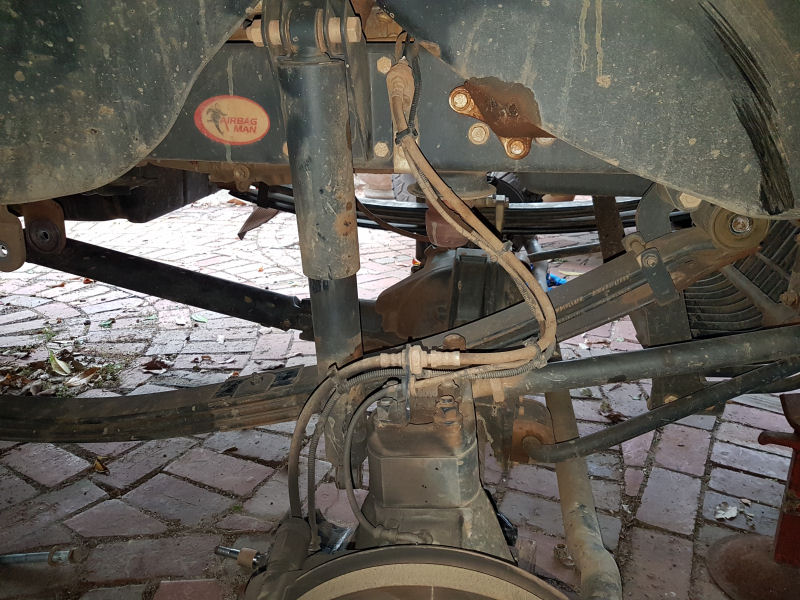
With the spring pack on the far side in place, the near-side pack is on the way out to add the new spring.
The supplied small wedges, thin end to the rear of the vehicle, are inserted between the spring packs and the axle packing blocks before tightening up the U-bolts.
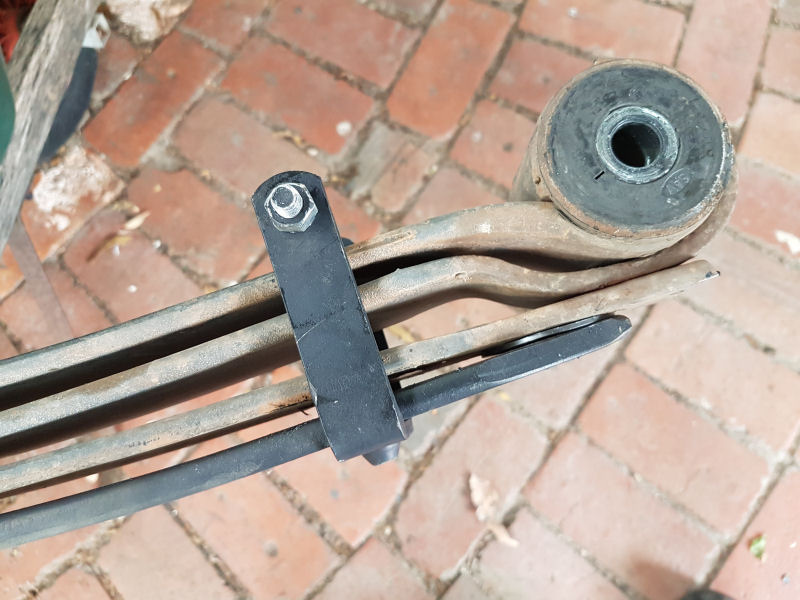
One end of a spring pack with new leaf below.
Reassembling the springs and U-bolts requires that correct torque settings are used:
| Torque Settings | |
| Wheel nuts (TT steel rims) | 305 - 375 Nm |
| Spring pack U-bolts | 116 - 142 Nm |
| Shock absorber lower mount stud | 169 - 207 Nm |
| Spring pack end shackle bolts | 212 - 258 Nm |
After a brief run around the block to bed everything down, measured wheel arch heights in the front have increased from 1140 to 1210 mm above ground level on the passenger side, and from 1130 to 1190 mm on the driver side. That is, an initial height increase of about 70 mm.
There are a few issues after this fitment.
- TT30 is still nose down, only a lot less so.
- High beam is now too high and cannot be adjusted.
- The ride is now significantly harsher.
So, was it worth it? Probably not.
LINKS
