Headlights
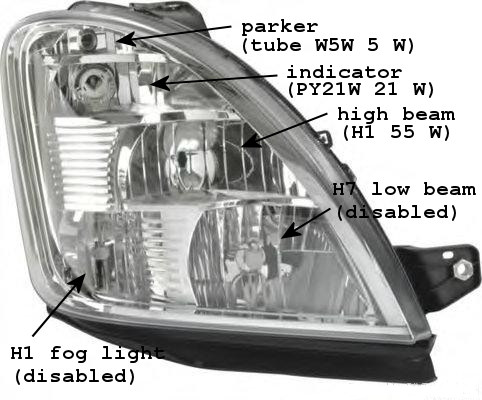
The standard low beam and fog light in the headlight cluster are too high for compliance with Australian Design Rules. However I have reinstated them to optionally operate together when high beam is selected, thus giving more light.
A new switch on the centre console enables this function.
Under-Bonnet Lights
An under-bonnet light is not only good for problem-solving there at night, but also as a night-light in Far North Queensland to keep White-tailed Rats from making the area home and chewing the wiring — very expensive!
A large metal toggle switch is located on the LH side of the bonnet, near the hinge.
Step Lights
The step lights are activated if the cab doors are opened.
Front Work Lights
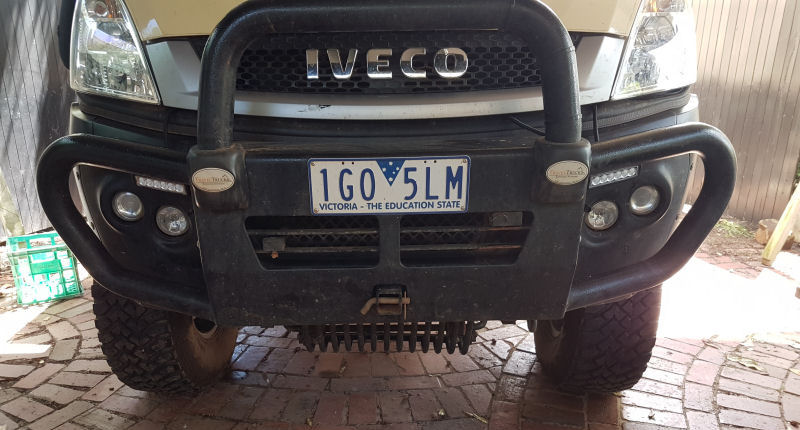
An over-door dryer rack drops into holes on the bull-bar to hang washing. Front work lights are helpful for that and other tasks at night. A switch on the centre console controls the lights.
The lights are mounted on the bumper bar above the headlights and under the outer loops of the bull bar and so are well protected.
Cabin Lights
The OEM interior lighting in the cabin was dingy. They are also timed and trying to keep them on longer than Iveco permits is a nuisance. Two changes:
Courtesy Light
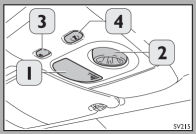
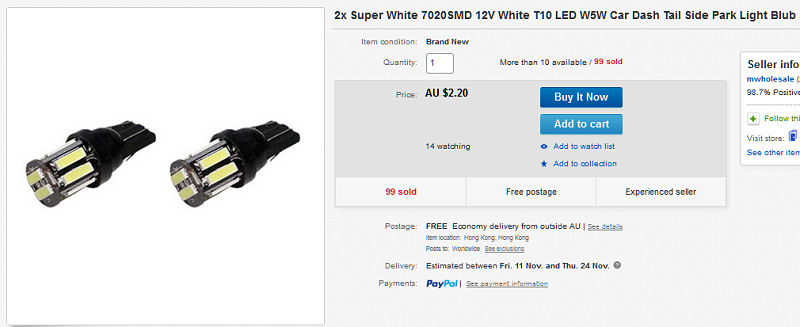
This had two lamps: a 42mm tubular lamp [1] and an aim-able T10 reading lamp [2]. Both gave dull yellow light. Now [1] is a 48-LED panel tube and [2] is an LED equivalent of the W5W lamp. The difference is huge!
Independent Cabin Light
To overcome the time limitations imposed by Iveco for cabin lights I have added a nice LED tube light that is turnable and has its own switch.
Its more convenient to have a switch for the light on the centre console. It has been added, and is the lower part of the double switch also for the front work lights.
Headlights
Iveco moved the low beam and fog lights lower into the bumper bar because the the standard low beam and fog light in the headlight cluster are too high for ADR compliance. IVECO disabled them by by removing wires and pins in the connector plug. However, the lamps and connectors inside the headlight cluster were in place.
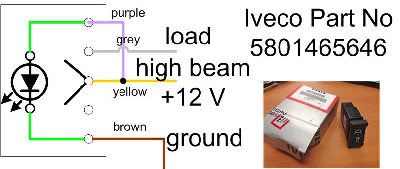
Expedition Vehicles Australia provided a wiring loom that re-enables these headlight cluster lamps as "spot lights" triggered by the high beam switch. Following their pictorial instructions, installation took a while but was straightforward. I used an Iveco Daily Accessory Switch mounted in the centre console. The only issue is that a plug for the switch to take the wiring is unobtainable. I found that ATX power supply motherboard connector pins are the right size so I patched in a set of these to the switch.
Under-Bonnet Lights
Exterior-grade flexible LED strip. It can
be cut at any mark.
I used some exterior-grade flexible LED strip. It has a silicone coating and sticky backing. Its the kind that can be cut at any multiple of three LEDs.
With a bit of difficulty wires can be soldered to the strip pads, adding a strain-relief loop.
Two lengths of the LED strip were attached to ridges on the bonnet pressing so that the light is aimed downwards when the bonnet is raised. Selleys 'All Clear' was applied every 100 mm or so to keep the strip well attached. The switch turns on the light. An alternative would have been to use a pin switch activated by the bonnet, but that was judged as less practicable.
The TravelTrucks "EBL" cable on the firewall is the source of power for the LED bonnet lights and as with all other TravelTrucks wiring, the camper battery is the supply.
Step Lights
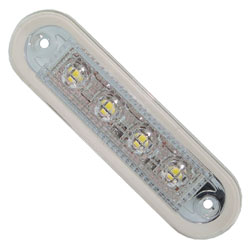
Courtesy Step Light for LH side of vehicle. Same for the RH side.
Using the existing wiring for step lights (see TT wiring), it was not difficult to fit LED step lights. I chose the courtesy lights sold by Whitworths. I made up brackets from aluminium sheet to mount the lights above the steps.
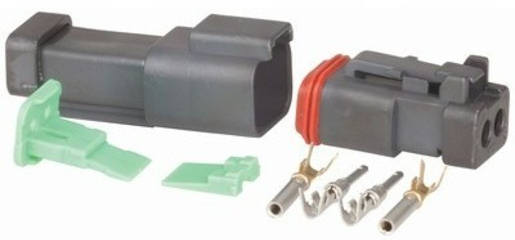
Each of the installed cables had been terminated in a waterproof Deutsch 2-Way female connector. Luckily these connectors are available from Jaycar (Item PP2150) and I was able to fit a male connector to each step light cable.
Front Work Lights
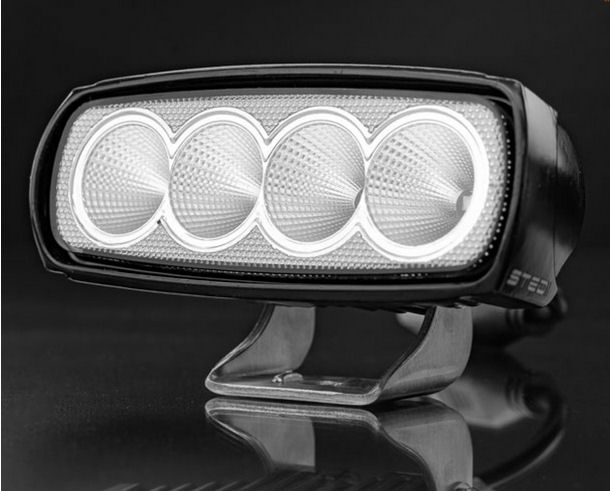
Two 4-LED 20 W (13 W actual) STEDI brand work lights are bolted to the bumper bar.

Arrow shows cable entry to cabin. Black relay on right.
The lights are wired to the vehicle battery via a relay in the same manner as the headlight upgrade, but switched independently. The console switch is the lower half of an Iveco double switch; the upper half is used to switch an independent cabin light (see next).
To avoid a long wiring run, the cable to the switch in the centre console is put through the plastic firewall near the brake master cylinder. The location is shown in the photograph, which also shows the black relay and fuse block to the right.
Cabin Lights
Courtesy Light
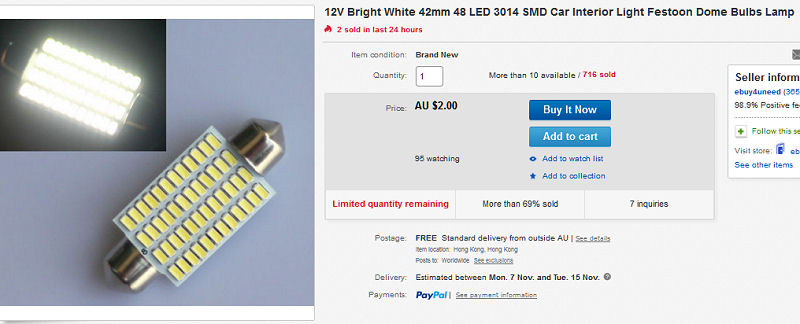
From an eBay seller (there are many), I replaced the 15W tubular lamp with a 42mm 48-LED panel tube. A huge difference. I replaced the W5W T10 lamp with an LED equivalent. Fantastic! Note that the tubular LED lamp I use has simple dropper resistors, not an IC regulator. No chance of EMR (radio noise) with this one. Not sure what the T10 LED light has inside, but its quiet for EMR.
Light above seats in cabin. Switch is on the right of the tube.
Independent Cabin Light
The LED tube light comes from Whitworths, is 470mm long, is turntable, and comes with its own switch.
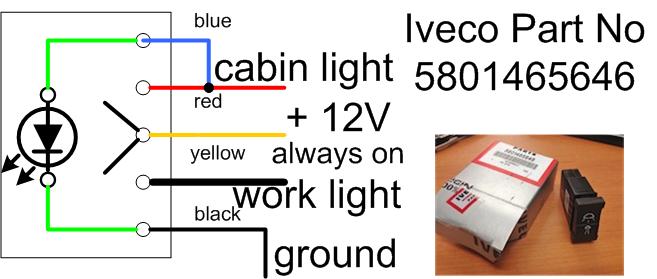
Using an Iveco Daily Accessory Switch that I have mounted on the dash console is the convenient way to switch the light on. The switch is fed from the +12V truck always-on power through a 3A fuse and Pin 6 of the Body Builders 20-pin Connector (see TT_wiring for more information). The only issue is that a plug for the switch is unobtainable. I found that ATX power supply motherboard connector pins are the right size so I patched in a set of these to the switch.
Overhead cabin light turned ON.
LINKS
