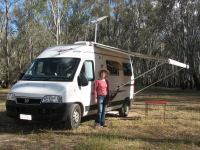
Fiamma F65 Awning
Nov2013: Checking the awning after it was caught in some stronger winds showed it loosely attached at the rear of the van. It and its mounting bracket could move up and down by about a centimetre.
The mounting bracket installation instructions are available on the Fiamma Website. The particular bracket is Type 693. The instructions show the awning brackets are attached with "U" plates to "T" lugs on the roof and also glued to the roof with Sika 252, which acts as a shock absorber.
Undoing the screws for keeper plates on each bracket allowed a friend and me to lift the awning away and to inspect the "T" lugs and brackets. The front one was in good condition but the rear bracket was, as expected, loose on the "T" lug and the adhesive, which was silicone, not Sika 252, was broken away.
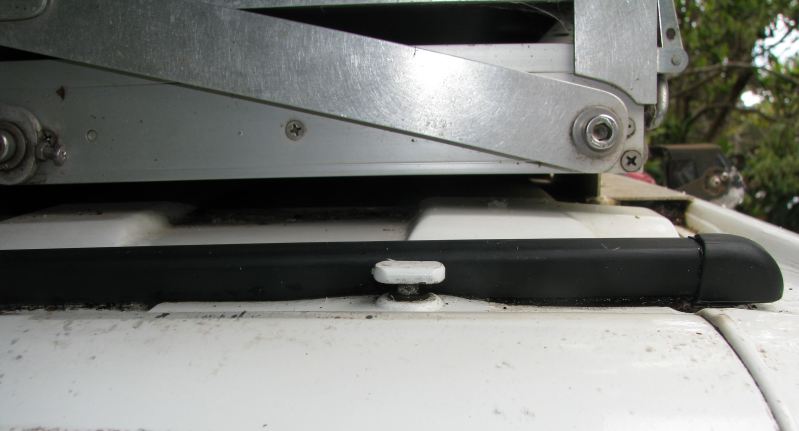
The photo of the rear "T" lug shows it is raised from the general roof level. It seems that the "U" plate has stretched the metal upwards. This and a loosening of the "U" plate screws were probably due to many high loads from wind on the awning over a long period.
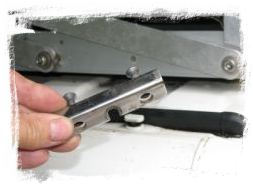
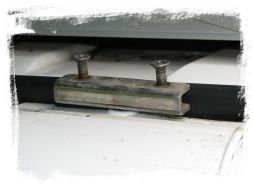
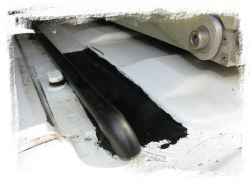
Though it required a visit to a Sika distributor and was expensive, I determined to refit the bracket with the correct Sika 252 by first treating the thoroughly cleaned surfaces with Sika Aktivator (a clear solvent/activator) and then Sika Prima-206 G+P (a very black solvent adhesive improver). Scraping away all the silicone on the roof and the bracket was hard work. This was preceded and followed by washing with weak soapy water and then carefully with acetone.
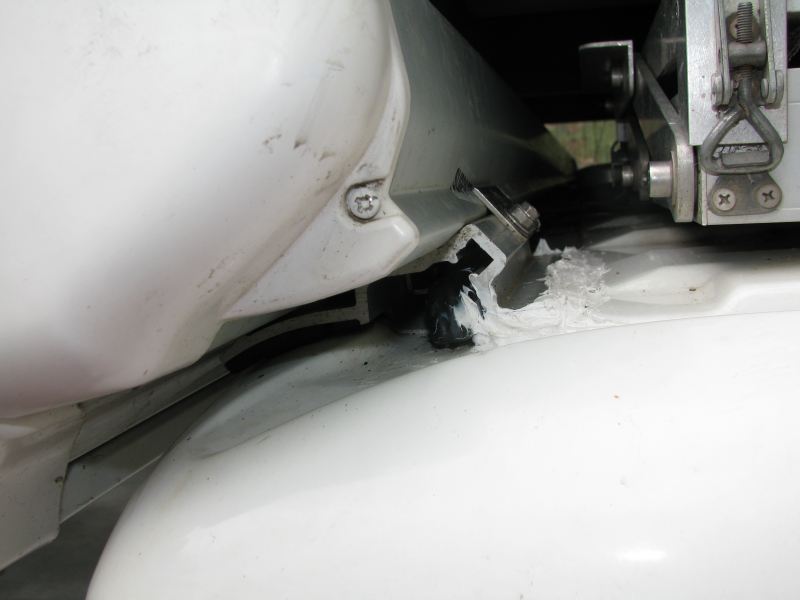
I applied the activator, then the primer, then a liberal coating of Sika 252 on both the roof and the bracket and pushed the two together and lightly screwed down the "U" plate. A lot of the Sika 252 was extruded from the join. A couple of days later both the front and rear "U" plate screws were treated with Loctite 243 and done up tightly. The awning was lifted into position and the keeper plates screwed down, along with a single retaining screw in the front keeper plate to stop fore and aft movement.
.LINKS
