Workshop
The first thing I did in what was once a vehicle garage and then the pool plant room, was remove as much of the heating equipment and ducting as possible. It was never going to be used and did not work anyway. This made a lot of space free in what is really a small room.
Roof Storage
A new whirlybird on the roof made a huge difference to the summer temperature in the roof cavity.
Two new compact fluorescent luminairs there provided illumination, with a switch installed at the top of the entrance.
I cut holes in the wall at the base of the solar inverter compartment, and some in the ceiling of that compartment into the roof cavity, to provide ventilation for the solar inverter.
Attic Floor
The rafters had been covered in 19 mm chipboard, but this was in very poor condition and had to be replaced so the area could be used for storage. I bought eight sheets, 1800 x 800 mm, 19 mm structaflor Yellow Tongue @ $23.90 each (total $191.20) from Bunnings and re-laid the area. This was a dirty, difficult exercise – lots of rat droppings and cramped conditions made it hard – but the Yellow Tongue made a good solid floor.
Attic Ladder
The existing hole for access to the attic was 565 x 1020 mm, between rafters that are spaced 600 mm between centres. The ceiling is 2400 mm above the floor.

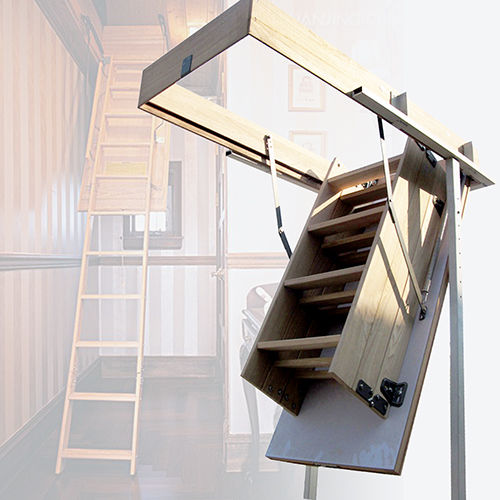
The only "loft ladder" that I could get for a reasonable price is one from AlwaysDirect, an import company of Chinese stuff. For $258.00 (pick up) I acquired a pine wood attic loft ladder 2200 mm to 2700 mm. This is a copy or alternate of the Fakro LWK-P timber access ladder for about 1/3 the price. The big problem is that the only frame size available was 600 x 1100 mm. This is really silly, as rafter spacings are either 450 or 600 mm centre spacing. Also really silly is the company pricing. At this moment the price on the Web site is $1,258.00 for Victoria Pick-Up, but $238.00 for Queensland Pick-Up, and $239.95 for WA Pick-Up. I guess there is a message there!

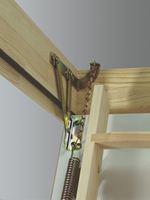
Fortunately there was enough room between the spring mechanism and the ladder to reduce the width of the frame to 560 mm. I broke down the frame, cut 20 mm off each end of the end pieces and reassembled the frame with glue and nails. Then centring the frame on the hatch door, I reassembled the hinge mechanism and spring carriers on the frame and screwed them to the door and checked that all worked well. Then with everything removed, 20 mm was sawn off each side of the hatch door, maintaining the shape of the lip that helps seal the door to the frame when its closed.
The ladder had to be installed from below, since the access hole is the only way in or out! Cutting the ladder to length as per the instructions then completed the installation.
Now there is no need to have an extension ladder getting in the way in the workshop. The attic ladder works well and keeps the space clear.
LINKS
- Bunnings http://www.bunnings.com.au/
