Carport
The carport is 6 m x 6 m. It was a high priority to raise the roof from 2 m to 3 m to permit the motorhome to be parked off the street.
The Roof
The existing rafters were sagging, were rotting in places, and appeared to have been sized before the cliplock metal roof was added to the carport. I have a report that there were once grape vines growing over the carport, so presumably no roof. Also, neighbour Ralph Higgins reports that the roof "just appeared one day".
On 27 August 2010 I bought 4 off 300 x 45 mm x 6.8 (7.2 supplied) m Hyspan LVLs from Glamex P/L for $574.00 to replace the main rafters of the carport. The size was selected from a calculation table (residential p64) for the pitching beam of a skillion roof. For a hyspan beam 300 x 45 with a roof load width of 1.5 m (half of 3 m), the maximum single span is 5.8 m. for a sheet roof and ceiling (we have no ceiling). The centre beam is to be doubled.
The LVL beams were marked out, holes cut out in both ends of all but one (that nearest the street) to take plastic guttering, and the positions of the roof purlins calculated.
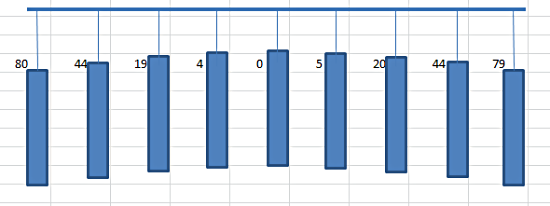
Measurements of the positions of the purlins showed that they were originally set out to form an arc, with the top of the arc running north-south. This arc is maintained in the replacement. The radius of the arc is 57 m, giving vertical offsets ranging from 0 mm at the middle to 80 mm at the outer edge of the rafters. The calculations are set out in a Google Docs spreadsheet and give the following:
An undercoat of gray plastic paint and two coats of black Weathershield gloss were laid on all four beams before installation.
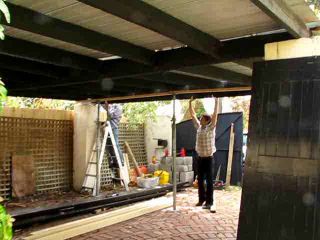
Son-in-Law Glenn directed operations to raise the roof. First we cut out the existing rafters in turn, supporting the purlins using a temporary beam and Acrow props (#2) hired from Bayway Hire and letting the attached metal roof also help. Each new rafter was slid into position and the purlins nailed to it. The centre rafter was grossly undersized and was replaced last by two of the LVL beams, nailed together once they were slid into position. This approach was necessary also because they would have been too heavy to lift if assembled as one on the ground.

Acrow props were set at each corner and the two centre pillars. A simple lever was then used to raise the roof 100 mm at a time at each point, going around the structure raising the Acrow props until there was enough space to support the roof with another concrete brick at each point. This was repeated until the clearance below the front rafter was 2800 mm, enough clearance for the motorhome.
100 x 100 mm wooden posts were then set in place of the concrete bricks and the roof braced to stop lateral movements until bricks were laid around the posts.
Columns
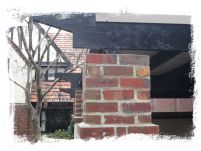
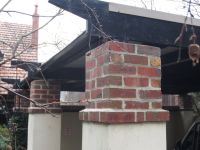
We employed Duncan Todd (Beaumaris) and his partner to extend the brick columns to the new roof height. We bought 4 straps (@ 66 bricks each @ 85c each) Selkirk pressed red-blue (Crafted Collection) bricks from Hume Bricks ($100 delivery) and mixed these with 100 secondhand clinker bricks and some common red bricks bought from ecobricks.
Rear Glazing
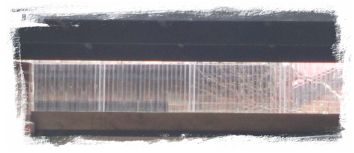
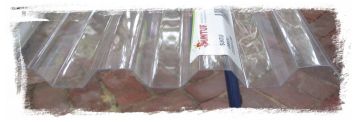
The rear wall is filled in with clear Suntuff Standard polycarbonate sheet with a Greca pattern, bought from Bunnings.
The top edge fits into a galvanised pressed steel U channel, and the bottom edge is held with 25 mm timber roofing screws and washers.
Guttering and Drainage
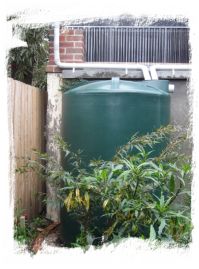
Plastic guttering has been fixed to each side of the roof, running through the rafter cutouts provided. Downpipes and drainpipes channel the rainwater to a Melro 2100 L round water tank bought from Bunnings for $479.00. The tank is 1250 mm diameter and 1850 mm high, just low enough to be below the level of the drainpipes.
Storage
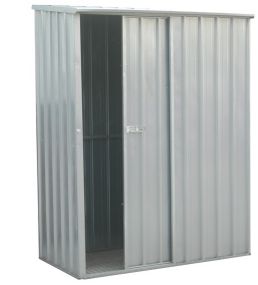
Bought from Bunnings for $219.00 each, two Qiq Fix garden sheds, 1.5m x 0.8m x 1.9m are installed against the fence between columns. These are the only garden sheds with sliding doors that I could find that were shallow enough to not intrude into the parking space. Sliding doors are essential for access when the motorhome is parked.
The sheds are very light-weight but should do the job. They are set upon 150 x 25 mm treated pine platforms. A layer of moisture barrier plastic is overlain and a floor of jarra or treated pine fills in the space.
LINKS
- Glamex http://www.glamex.com.au
- Bunnings http://www.bunnings.com.au
Carport Project
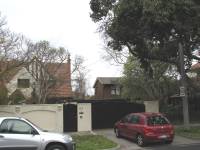
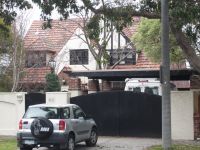
View from street of Carport roof and entrance prior to raising.
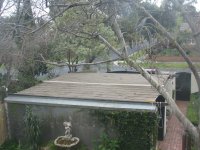
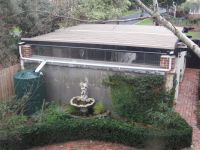
Rear view of Carport roof prior to raising.
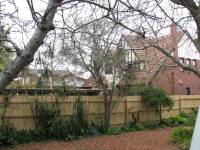
Side view from neighbours of Carport roof prior to raising.
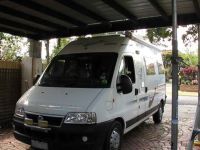
Testing for clearance under the raised roof.
Brick column extensions using clinkers and red-blues.
The back wall of the carport has clear polycarbonate glazing.
View of the clear in-fill, guttering, drainpipes and water tank for the carport.
